


 Projects
17 Feb 2025
THERMOCHIP® on the roof of the Can Julià farmhouse
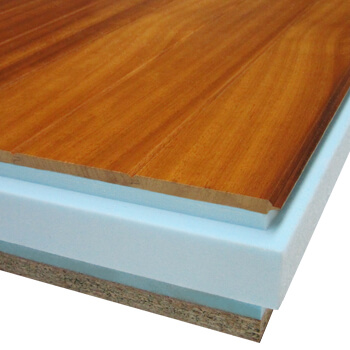
THERMOCHIP® TIrH, hesandwich panelformed by a table of iroko wood,It already covers the roof of the Can Julià farmhouse, currently the offices of AEMAS…
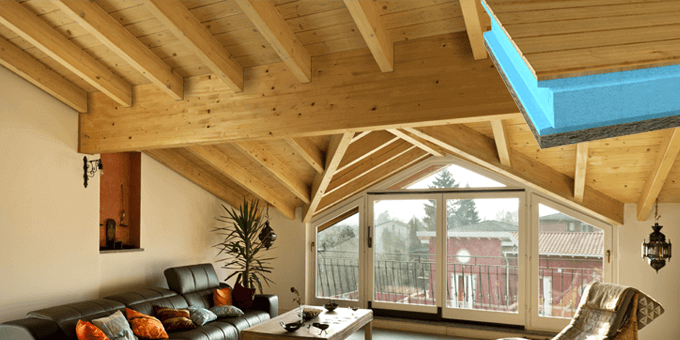
THERMOCHIP® guarantees energy efficiency by insulating ceilings, floors and walls
28 November 2018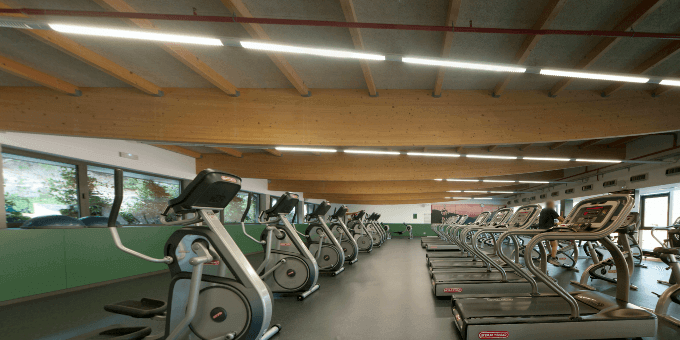
THERMOCHIP® wooden sandwich panels at the Putxet Sports centre in Barcelona
28 November 2018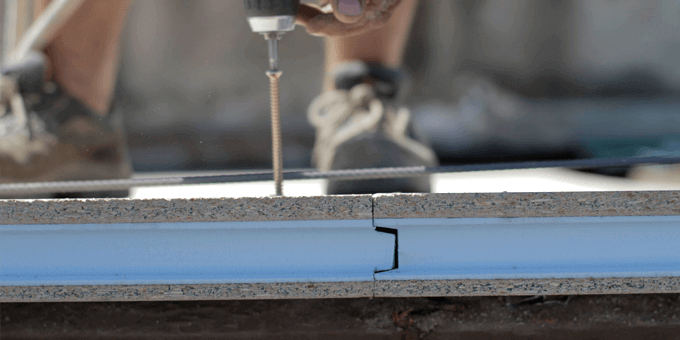
Publicado 28 November 2018
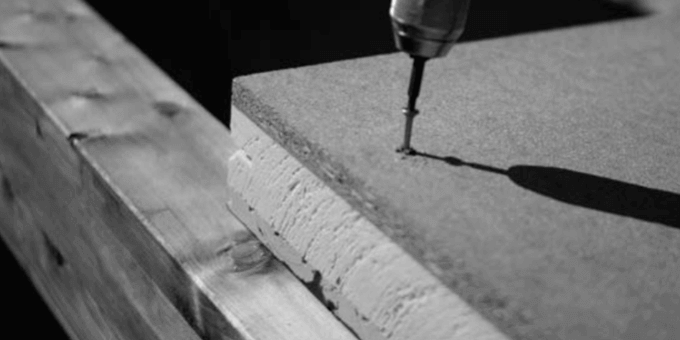
The installation of THERMOCHIP® is a very quick and simple process. The well-known programDIYdedicates an explanatory video to the steps we must follow to place thewood sandwich panelson the cover, in this case, of a garden shed.
–>
The two wooden boards attached to the rigid extruded polystyrene foam core of theTHERMOCHIP® sandwich panelsThey allow you to achieve a complete cover. They will not only provide insulation to the home but will also constitute the structure that has a different finish on the inside. In such a way that we will have alight coversaving thanks to the energy and economic efficiency they generate. With a structure of 2.40 m. long and 56 cm. wide, they are easy to handle and install. The process includes the following phases:
The installation process can be seen in full in the following video on our YouTube channel:
Continue learning about THERMOCHIP® sandwich panels by doingclick here.


 Projects
17 Feb 2025
THERMOCHIP® TIrH, hesandwich panelformed by a table of iroko wood,It already covers the roof of the Can Julià farmhouse, currently the offices of AEMAS…
2 Oct 2024
Four-sided tongue and groove jointing in sandwich panels represents a significant advance in the construction sector. InThermochip we have developed an exclusive…
 Blog
Blog
1 Dec 2023
Design and architecture came to life on November 22 and 23 in Lisbon, when the Architecture FairArchitect at Workopened its doors, bringing…
 Blog
Blog
8 Jun 2022
The Xunta de Galicia will be at the forefront of energy efficiency in its facilities.San Caetano. The works for the comprehensive reform…
29 Apr 2021
THERMOCHIP, the leading sandwich panel in the sector, offers many advantages on a technical, practical and economic level. Thanks to our…
3 Apr 2020
The last monographic session ofAulamaderaaboutRehabilitation and Sustainability which was held yesterday atAssembly Hall of the Ministry of MadridIt was a great success with…
 THERMOCHIP
4 Mar 2020
Hesandwich panelIt is one of the materials that best insulates our home. When carrying out rehabilitation withwood sandwich panelsTHERMOCHIP®We will have to…
 THERMOCHIP
14 Nov 2019
Positioning wooden products for construction in the market is the priority ofWood Sustainable Construction, the operational group of whichThermochip He has been…
4 Sep 2019
Theenergy rehabilitationof thehotelswill be financed with5.21 million euros. It is the star measure ofPIMA Sol Environmental Promotion Plan, which intendsreduce CO2 emissionsin…
 Blog
Blog
24 Jul 2019
TheTHERMOCHIP® wood sandwich panels cover theTeide National Park Administrative, Interpretation and Services centre. The 3,300 square meter building, located in La Orotava, named…
Utilizamos cookies propias y de terceros. Puedes aceptar todas, rechazar las opcionales o configurar tus preferencias.