



 Projects
17 Feb 2025
THERMOCHIP® on the roof of the Can Julià farmhouse
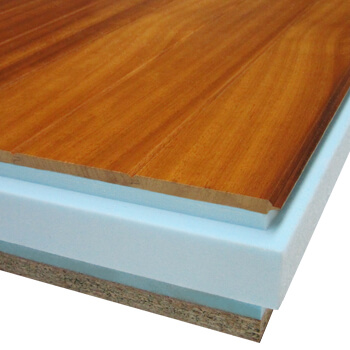
THERMOCHIP® TIrH, hesandwich panelformed by a table of iroko wood,It already covers the roof of the Can Julià farmhouse, currently the offices of AEMAS…
THERMOCHIP® DECO follows the fashionable colour trends for spring 2014
14 November 2018THERMOCHIP® DECO turns an underground space into a cozy environment
14 November 2018Publicado 14 November 2018
Thedecorative panels THERMOCHIP® DECO They can be easily installed on any type ofconstructive solution (wood, metalorconcrete). Besides,reduces by 75%heassembly timecompared to traditional systems.They can be usedthree installation systems:
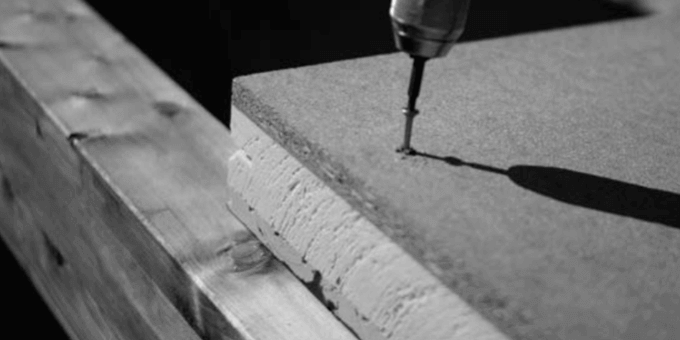
After leveling and placing thestarter parts, HEfix the panels. The fixation onwood and metalwill be done withspecific screwsfor each material while onconcretewill be needednylon plugs and screws.
Among thedecorative panels THERMOCHIP® DECO will be placedtongueof union. To finish onwood and metal, proceeds toscrewedand if the fixation is carried out on concrete, abatten, a cut is made in thepolystyreneand itscrew. Finally, theperimeter molding.
The position of thewooden or metal battens(with amaximum separationamong the supports of70cm) that will be used to set the decorative panels THERMOCHIP® DECO to the surface. Next, itlevel the perimeterfrom thebatten.
Thestarter partsand they fixate on thempanels. Then they lookhitch partsto the panels and, in turn, the panels to thebattens. Thereedsto join the panels and are fixed on thebatten. To finish, place theperimeter molding.
The position of therodsand itlevel the perimeter. They set the rods; aboutwood and metal, they will be screwed to the beam using aleveling piece; aboutconcrete, the rod will be inserted into the beam with abrass plug.
Theanchor pieces, thebatten, thestarter partsand, on them, thedecorative panels THERMOCHIP® DECO. The panels are fixed to thehitch partsand to thebattens. Thetonguebetween the panels. To finish, we proceed to thelower fixationand place theperimeter molding.


 Projects
17 Feb 2025
THERMOCHIP® TIrH, hesandwich panelformed by a table of iroko wood,It already covers the roof of the Can Julià farmhouse, currently the offices of AEMAS…
2 Oct 2024
Four-sided tongue and groove jointing in sandwich panels represents a significant advance in the construction sector. InThermochip we have developed an exclusive…
 Blog
Blog
1 Dec 2023
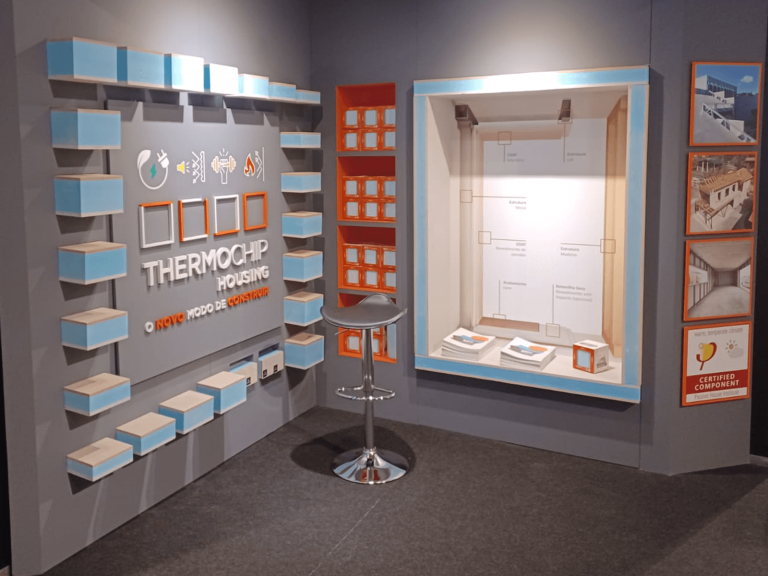
Design and architecture came to life on November 22 and 23 in Lisbon, when the Architecture FairArchitect at Workopened its doors, bringing…
 Blog
Blog
8 Jun 2022
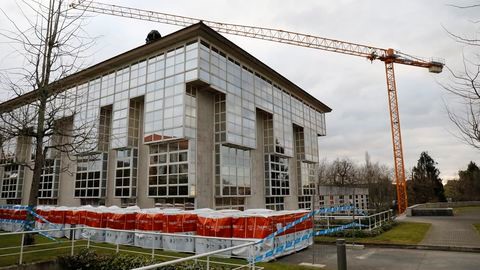
The Xunta de Galicia will be at the forefront of energy efficiency in its facilities.San Caetano. The works for the comprehensive reform…
29 Apr 2021
THERMOCHIP, the leading sandwich panel in the sector, offers many advantages on a technical, practical and economic level. Thanks to our…
3 Apr 2020
The last monographic session ofAulamaderaaboutRehabilitation and Sustainability which was held yesterday atAssembly Hall of the Ministry of MadridIt was a great success with…
 THERMOCHIP
4 Mar 2020
Hesandwich panelIt is one of the materials that best insulates our home. When carrying out rehabilitation withwood sandwich panelsTHERMOCHIP®We will have to…
 THERMOCHIP
14 Nov 2019
Positioning wooden products for construction in the market is the priority ofWood Sustainable Construction, the operational group of whichThermochip He has been…
4 Sep 2019
Theenergy rehabilitationof thehotelswill be financed with5.21 million euros. It is the star measure ofPIMA Sol Environmental Promotion Plan, which intendsreduce CO2 emissionsin…
 Blog
Blog
24 Jul 2019
TheTHERMOCHIP® wood sandwich panels cover theTeide National Park Administrative, Interpretation and Services centre. The 3,300 square meter building, located in La Orotava, named…
Utilizamos cookies propias y de terceros. Puedes aceptar todas, rechazar las opcionales o configurar tus preferencias.